My husband and I made an impromptu move last summer. The delightful place we moved into was perfect in every way … save for the kitchen cupboards which we knew would need to be addressed at some point. But, much like every other creative venture, I don’t rush anything, but wait, instead, until it hits me like a ton of bricks what I want to do. Usually, from there I tend to move swiftly turning my vision into reality. But, because I typically do all the labor myself, and in my head this seemed like it was going to be a bigger project than it was, I found it hard to carve out time to make it happen.
It wasn’t until another unit became available in our building that we noticed how beautiful the original cupboards actually were. It seems ours was the only unit that didn’t have cabinets that retained the original wooden splendor, alas – ours had been painted – and not very well either. They were chipping horribly in places and not in a shabby chic way. Again, we really didn’t know how bad they looked until we compared them to what they originally looked like. At which point my husband turned to me and said “when are we gonna do something with our cupboards?!” I told him “slow down sailor, I have something in mind, and now I’m inspired to put it in motion.”

Kitchen Cupboards Before
My mother-in-law lovingly sends me various articles she clips from her local newspaper and she had sent me a story about some woman who refinished furniture with chalky paint. I kept this particular article thinking maybe that would be a cool medium for the cupboards at some point. I reached out to our landlord and told him I envisioned a Mexican turquoise sort of vibe for the kitchen. He was kind to tell me how creative I was, but initially reluctant because he didn’t want to create more work in the future removing an additional layer of paint from the cabinets. I explained that the chalky paint was a one coat process and, let’s face it, those cupboards would need to be sanded down and properly painted someday and one more layer wasn’t going to make that job any more tedious than it was already going to undoubtedly be. He laughed and said – go for it! (…partially swayed by the fact that I offered to pay for the materials and do the labor myself).
I applied one coat of chalky paint, apparently a common medium, because despite spending some time combing the aisles to find what I wanted, it ended up being on display at the front of the paint department counter. I got a quart of it tinted in exactly the turquoise color I had in mind at Lowes for $29.99. Paint brushes, a paint cup later, all told my final cost for supplies was about $50. I simply applied one coat of the chalky paint (which really goes a long way, because I still have about 1/2 of the quart left). Then I took an old rag and rubbed the cupboards with a dark stain poly finish which sealed them ever so slightly, and provided the distressed wash I was looking for.
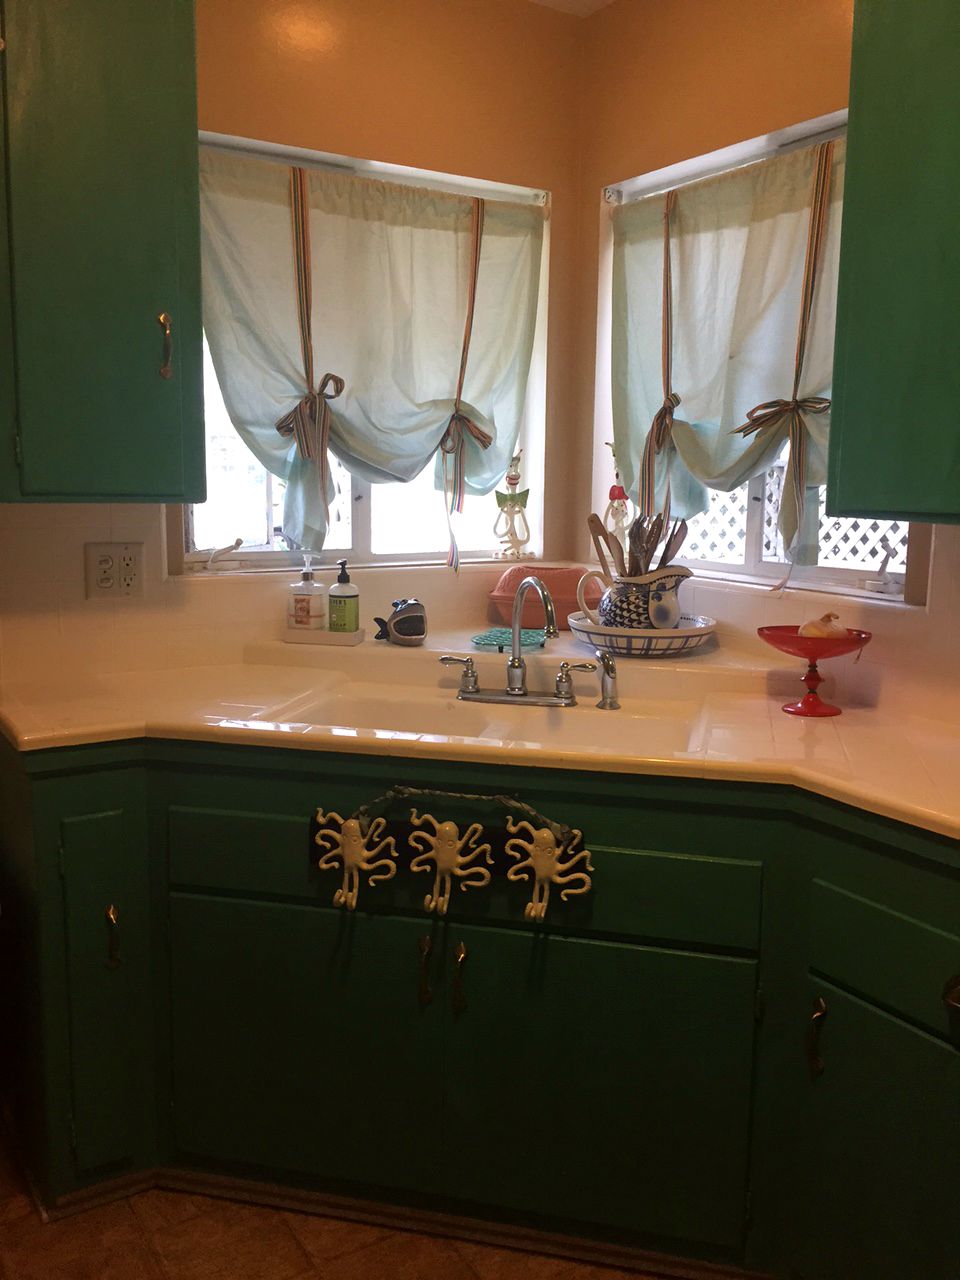
2 hours of labor and $50 in supplies, and we have a totally transformed kitchen! …bonus points for me because every time my husband walks into the kitchen now, he exclaims how amazing it looks…
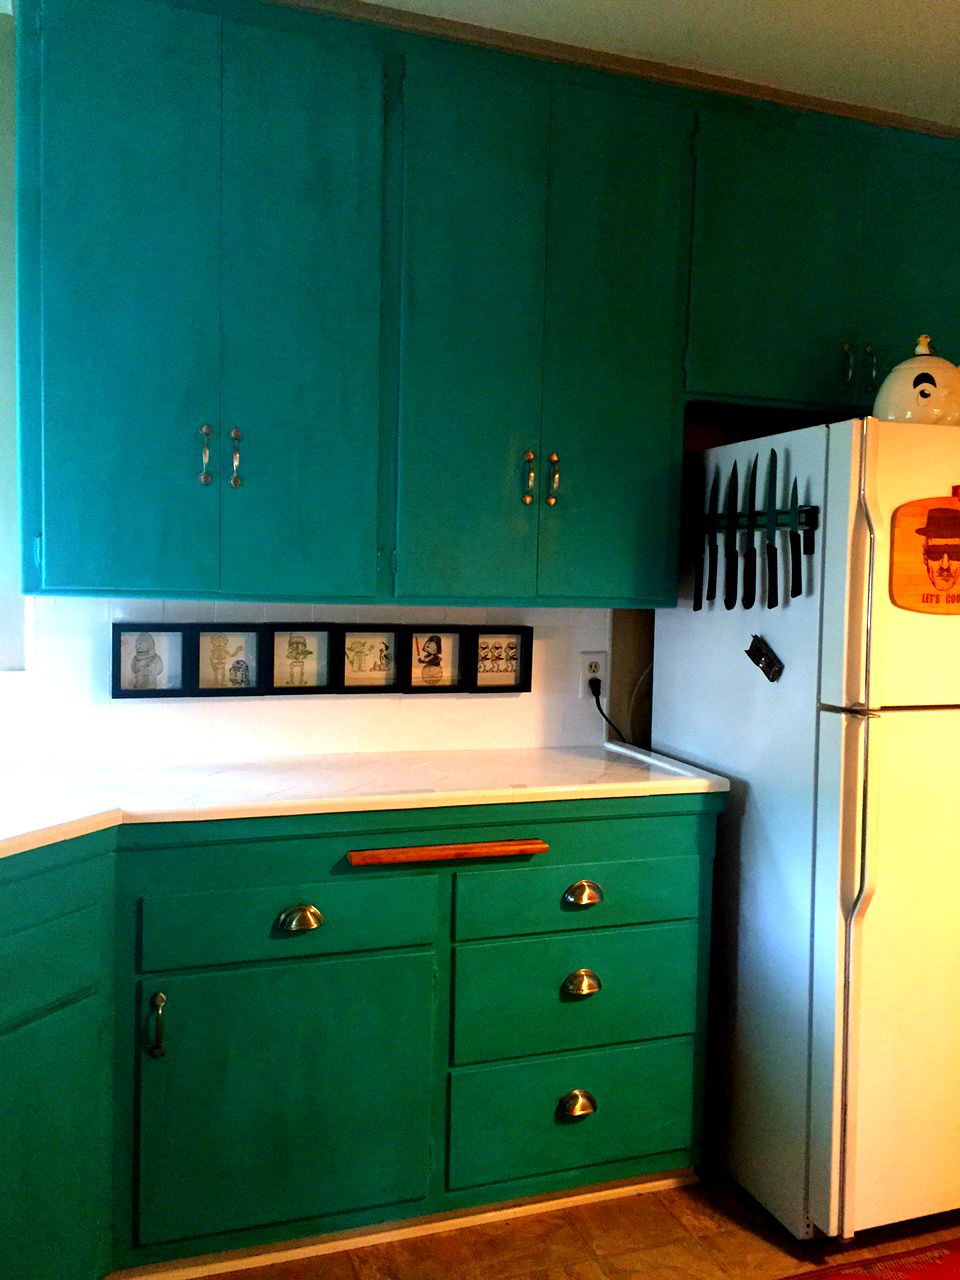
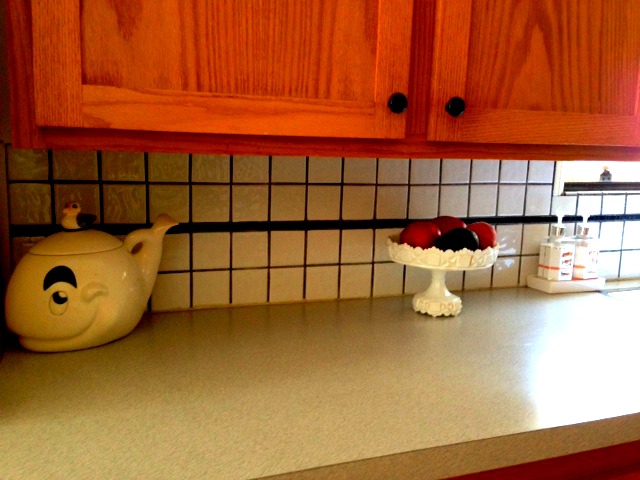
Kitchen Cupboards After
Margaritas anyone?


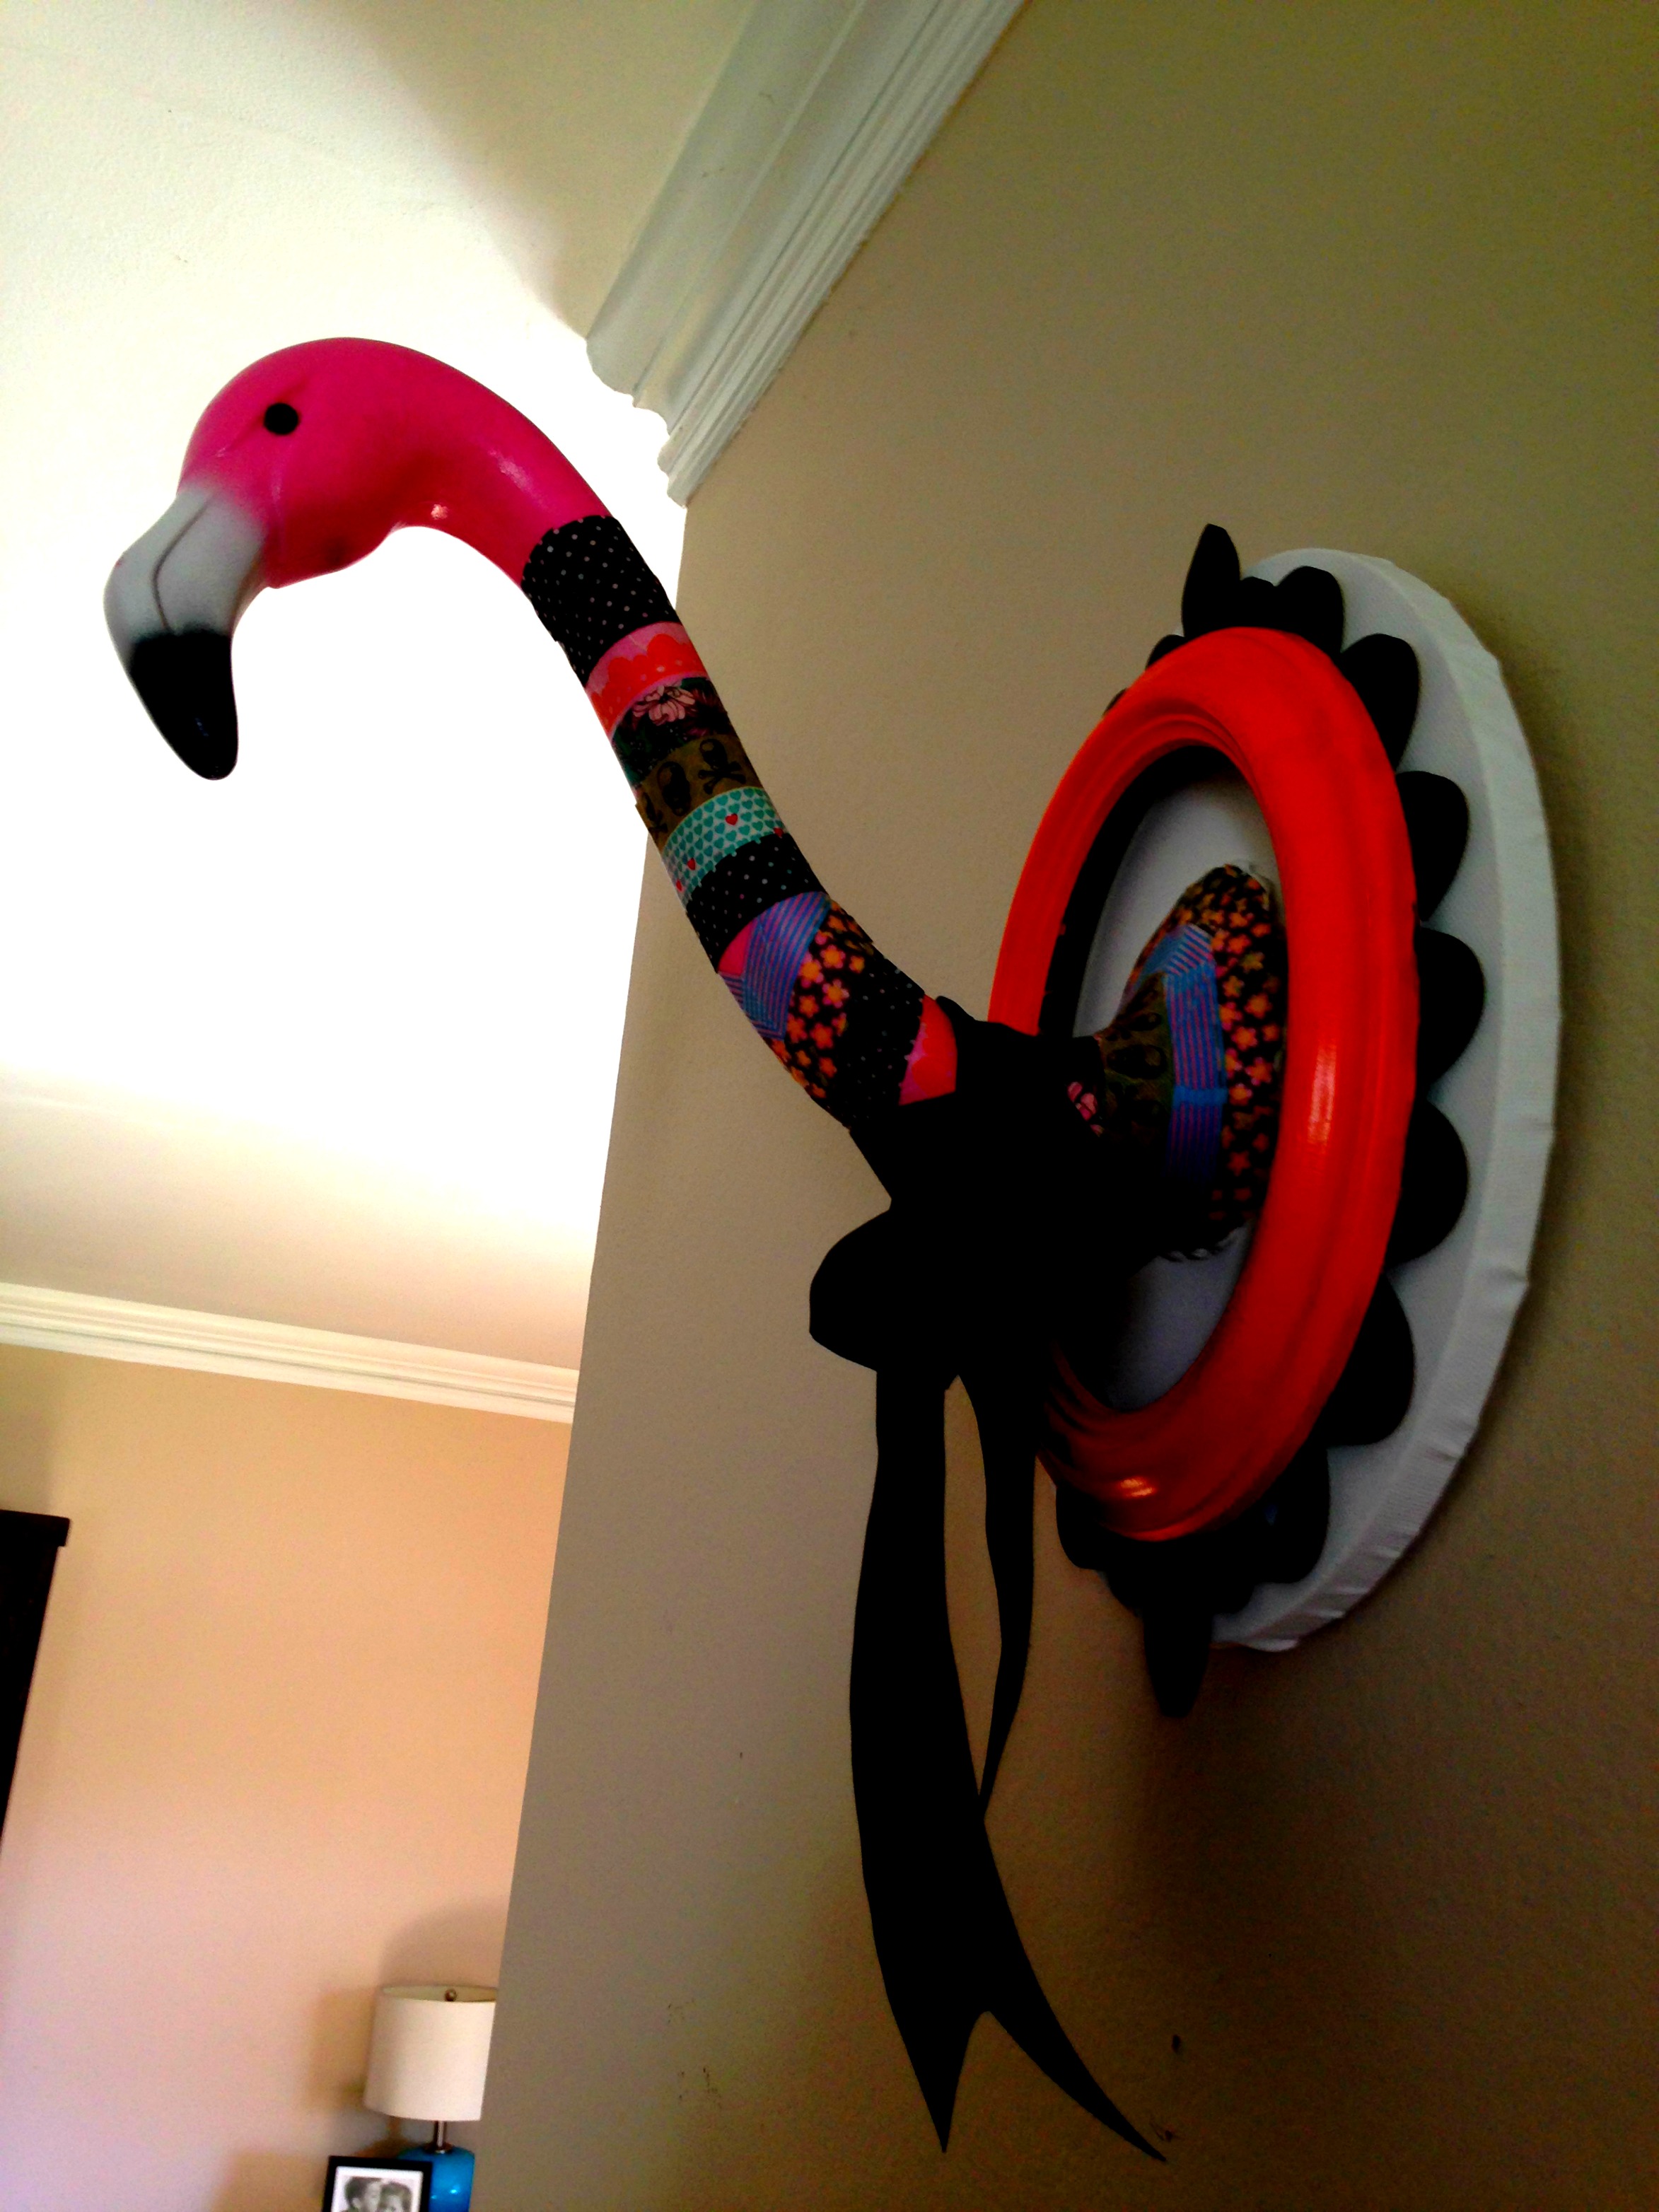


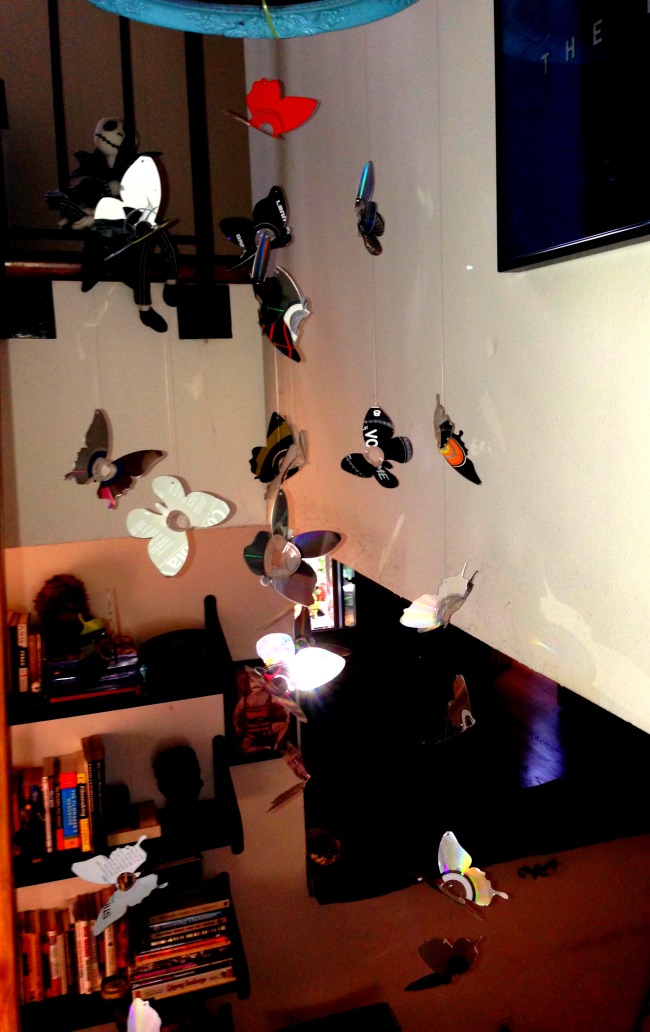
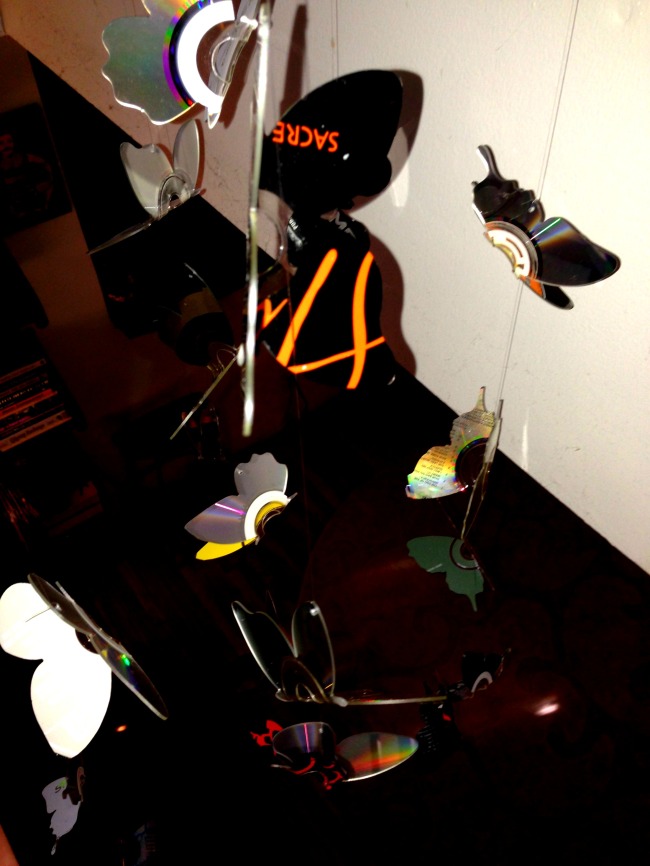
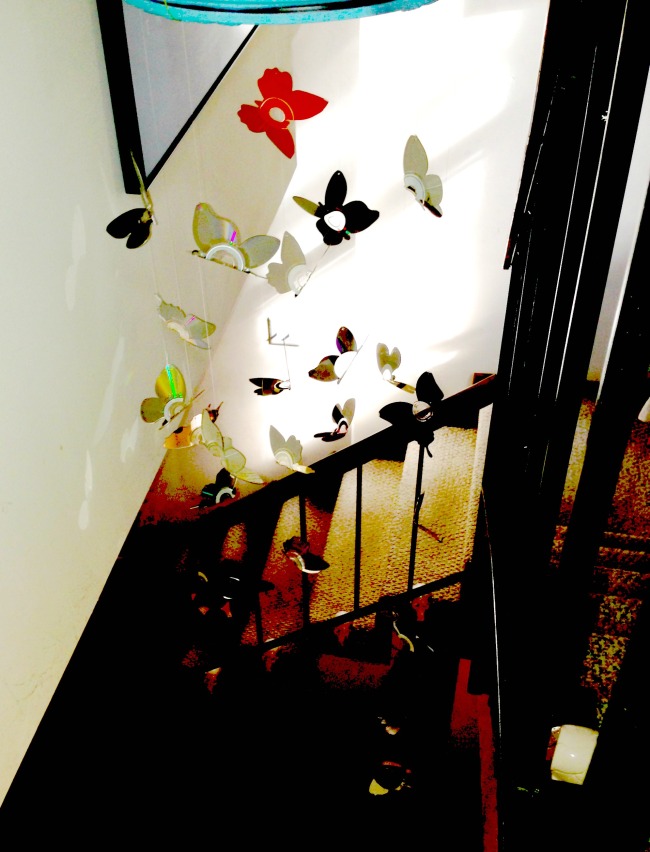
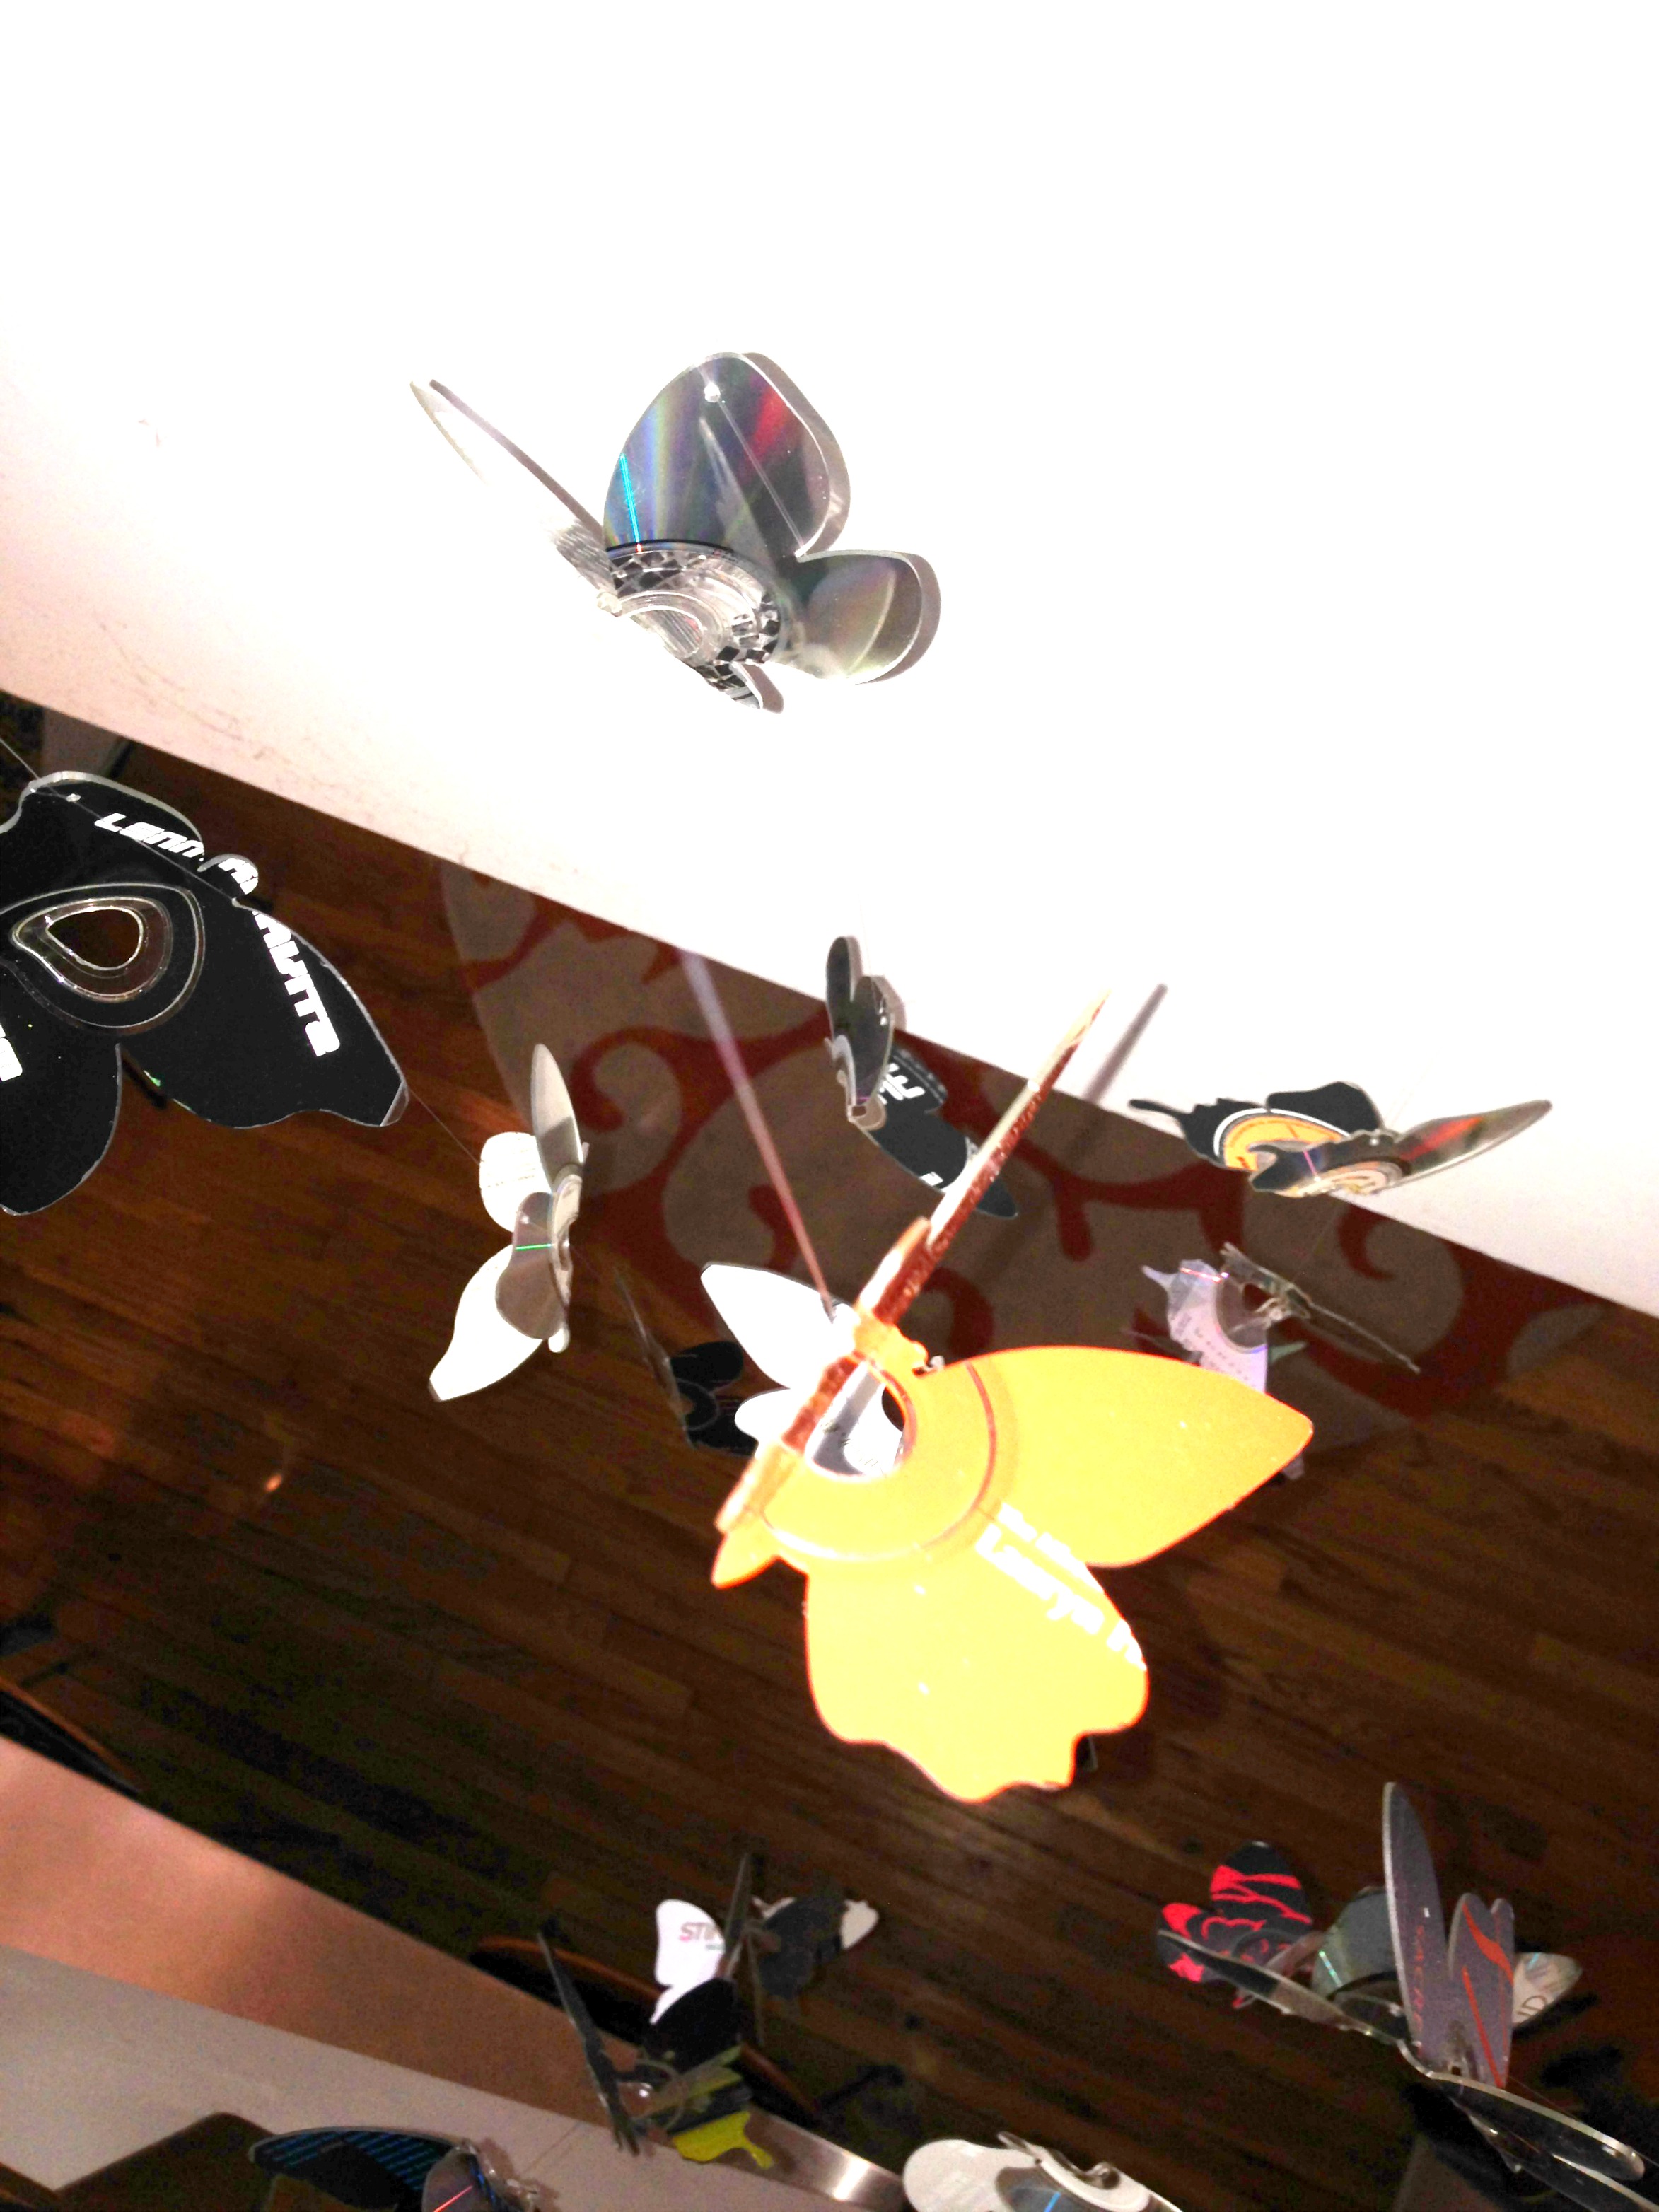
 I used fishing line to string up the butterflies at varying lengths and simply tacked them to the back of an old picture frame and used a little remnant ribbon to hang it up. It’s quite large with the longest point being about 6 feet and is now hanging thru my staircase.